Track Saw Troubleshooting
Why Does My Track-Saw Rail Slip?
A slipping rail can move the cut away from the intended dimension and undermine control. The cause may be a dirty contact surface, worn grip strips, external hose force or an unsuitable support arrangement. Stop work and identify the movement before continuing. Non-slip pads are a feature, not a promise that every unclamped setup is appropriate.
As an Amazon Associate I earn from qualifying purchases. How affiliate links work.
Inspect the relevant offer
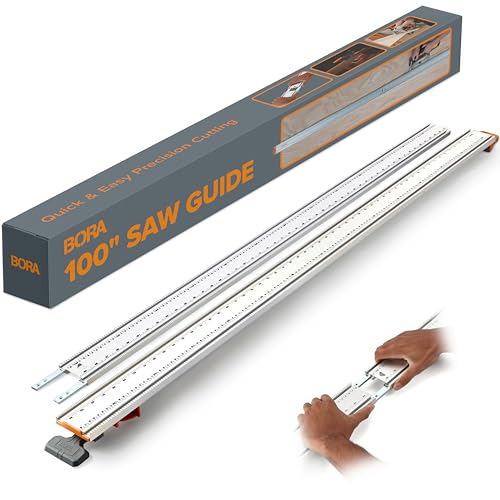
BORA NGX Circular Saw Guide Rail, 100" Straight Edge Clamp - Track Saw Rail
Check Amazon offerDetermine what actually moved
Mark the original rail position on a test setup and inspect whether the track shifted relative to the work, the entire panel moved on its supports or the saw moved loosely on the rail. Those observations lead to different fixes. A secure rail on a sliding panel is still an unstable arrangement. Likewise, tightening clamps will not correct excess play between the saw base and guide. Describe the movement precisely before purchasing extra accessories or changing the saw's adjustment.
Clean the surfaces that provide grip
Dust, finish residue and other contamination can reduce contact between the rail pads and the work. Clean the rail and panel using methods compatible with their materials. Do not spray lubricant on the underside to solve a separate sliding issue on top. Inspect grip strips for wear, peeling or missing sections, and use the manufacturer's replacement parts and procedure where needed. An apparently clean rail can still have a compromised contact strip, especially if it has been stored against dirty work or exposed to unsuitable cleaners.
Remove forces from the hose and cord
A hose that catches at the end of a rail can tug the setup sideways. A heavy adapter or tightly routed cord can create similar problems. With power disconnected, rehearse the complete travel and watch what happens to those connections. Give them a clear route and enough reach without crossing the cutting path or creating a trip hazard. Do not assume the first few inches prove the arrangement works; the largest pull may occur only when the saw reaches the far end of a sheet.
Use compatible clamping where the setup requires it
Follow the saw and rail instructions for securing the guide. Check the clamp's fit in the intended channel and ensure its hardware remains outside the saw and blade travel. Tightening should not bow the work or shift the line you already marked. Recheck the rail after clamping. An improvised clamp arrangement can create a new obstruction or interfere with the base, so physical access to a channel is not the only compatibility consideration.
Reconsider narrow, slick or awkward work
A narrow board may not support enough of the rail to keep it level. A slick finished surface may behave differently from bare plywood. Bevel work changes the forces on the system, and a steep or vertical orientation should never be assumed permissible. Use the manufacturer's documented setup for the actual operation. If you cannot secure and support the work properly, move it to a more suitable cutting arrangement rather than trying to increase downward hand pressure while operating the saw.
Retest the retained dimension
Once the cause is corrected, make a controlled trial and verify both the rail position and the finished part. A previous slip may have damaged the splinter strip or left a misleading cut reference. Inspect that relationship before relying on it again. Keep the test inexpensive and representative of the actual surface. If the track still moves without an identifiable cause, consult the system manufacturer with the exact rail, saw, clamp and material details rather than processing more valuable stock.
Questions about Why Does My Track-Saw Rail Slip
Can I use a track saw without clamps?
Only where the exact system instructions and actual setup permit it. Non-slip strips do not remove the need to assess surface condition, work support and forces from the hose or saw.
Will more downward pressure stop slipping?
Do not rely on extra hand force to rescue an unstable arrangement. Correct grip, clamping, support or hose-routing issues so the tool can be operated as instructed.
Can I replace the rubber pads under the rail?
Many systems offer replacement grip components. Use the part and installation method specified for the rail, and distinguish grip pads from the splinter strip and top glide strips.


